Downward Dog is one of the most recognized yoga poses, but it often feels surprisingly difficult when you first try it. This guide explains how to do downward dog with clear alignment cues, why the pose is useful, which mistakes show up most often, and how to modify it so it works for your body today. It is designed as a practical reference you can return to over time as your mobility, strength, and comfort change.
Overview
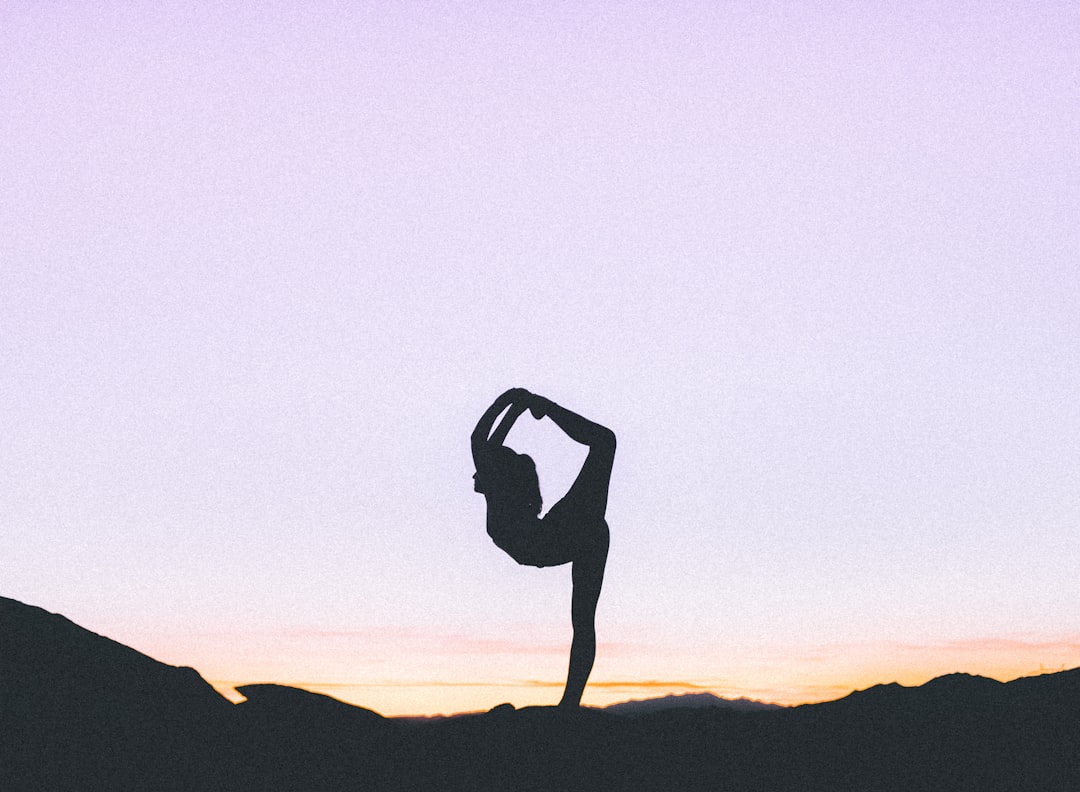
Downward Dog, often taught as Downward-Facing Dog, is a foundational pose in many beginner yoga poses, warm-ups, and daily yoga flow sequences. It appears in Sun Salutations, home mobility routines, gentle yoga at home sessions, and sports recovery practices because it combines several benefits in one shape: length through the spine, work in the shoulders and arms, opening through the back body, and a calm, steady breathing rhythm.
If you are learning how to do downward dog, it helps to think of the pose less as “getting the heels to the floor” and more as “creating long lines through the body.” For many people, especially beginners, the most useful version includes bent knees, lifted heels, and a strong focus on the hands pressing evenly into the mat.
Basic shape of downward dog:
- Hands are shoulder-width apart, fingers spread.
- Knees begin under hips if entering from tabletop.
- Toes tuck under and hips lift up and back.
- Arms stay active without locking rigidly.
- Spine lengthens as the chest gently moves toward the thighs.
- Knees may stay bent to preserve back length.
- Heels reach toward the floor, but they do not need to touch.
Step-by-step instructions:
- Start in tabletop with wrists under shoulders and knees under hips.
- Spread your fingers and root through the whole hand, especially the base of the index finger and thumb.
- Tuck your toes and exhale to lift your knees an inch or two.
- Press the floor away and send your hips up and back.
- Bend your knees generously at first so your spine can lengthen.
- Draw your lower ribs gently in instead of letting the belly hang.
- Relax your neck and let your gaze rest between your feet or toward your knees.
- Stay for 3 to 8 slow breaths.
- Lower to Child’s Pose if you need a break.
For beginners, downward dog benefits often become clearer after a few weeks of consistent practice. At first it may feel like a shoulder exercise or a hamstring stretch. Later, it becomes a full-body reset pose that can improve body awareness and help transition smoothly between standing yoga poses, seated yoga poses, and floor work.
Potential benefits of downward dog:
- Gently stretches calves, hamstrings, and the back of the body.
- Builds strength in shoulders, arms, and upper back.
- Encourages spinal length and better posture habits.
- Supports focus through steady breathing.
- Works well in a morning yoga routine or short 10 minute yoga routine.
- Can feel grounding during yoga for stress relief when practiced without strain.
This pose is not meant to feel passive. It is active, steady, and adjustable. That is why downward dog modifications matter so much. A useful pose is one you can breathe in, not one you force.
If you want more foundational context, our Essential Yoga Pose Library offers a wider look at beginner-friendly shapes, and our Pose Alignment Checklist is a helpful companion for refining your form.
Maintenance cycle
The most useful way to approach downward dog is as a pose you revisit, not a pose you “finish.” Your version of the posture should change as your shoulders strengthen, your hamstrings warm up more easily, or your recovery needs shift. A regular maintenance cycle keeps your practice safe and helps you notice subtle improvements.
A simple downward dog review cycle:
- Weekly: Check whether you can breathe steadily for 5 slow breaths without gripping your jaw, neck, or low back.
- Monthly: Reassess your hand placement, shoulder comfort, knee bend, and whether your spine feels long.
- Seasonally: Update your modifications based on current training load, stress, injury history, or schedule.
Many readers search for how to do downward dog because the pose can feel different from day to day. That is normal. If you sit for long hours, train hard, or practice first thing in the morning, your hamstrings and shoulders may need more preparation. On those days, the right maintenance choice may be a shorter hold, bent knees, or a prop-supported variation.
What to review during your maintenance cycle:
- Hand pressure: Are you dumping into the wrists, or pressing evenly through the palms and fingers?
- Shoulder space: Do your shoulders feel broad and stable, or pinched and crowded?
- Spinal length: Can you lengthen your torso, or are you rounding through the upper or lower back?
- Lower-body tension: Are straight legs pulling your pelvis down and shortening your back?
- Breath quality: Can you take smooth nasal breaths, or do you feel compressed?
As part of a regular yoga for flexibility practice, downward dog is often best maintained alongside a few supporting poses rather than on its own. Helpful pairings include:
- Cat-Cow for spinal movement
- Puppy Pose for shoulders
- Low Lunge for hip mobility
- Standing Forward Fold with bent knees for hamstrings
- Child’s Pose for recovery
You can also place the pose inside a larger sequence. Our Sun Salutation Simplified guide shows where downward dog commonly fits in a warm-up, while the Vinyasa Flow Blueprint can help you build balanced sequences around it.
Three easy modifications to rotate in:
- Bent-knee downward dog: Best for tight hamstrings or protecting spinal length.
- Hands on blocks: Useful if shoulder range or wrist pressure makes the floor feel too low.
- Wall downward dog: Excellent for beginners, seniors, or anyone needing a gentler version with less wrist load.
Wall downward dog is especially helpful if you want the pattern without the intensity. Place your hands on a wall at about shoulder height, walk your feet back, hinge at the hips, and create an L-shape with your body. This teaches the same idea of pressing the floor away and lengthening the spine, but with much less demand on the wrists and calves.
Signals that require updates
Your downward dog practice should be updated whenever your body gives you useful feedback. Search intent around this pose often shifts toward comfort, injury prevention, and realistic beginner options, and your own practice should do the same. A pose guide stays relevant when it reflects what people actually feel in the pose, not just what the textbook picture looks like.
Update your approach if you notice any of these signals:
- Your wrists hurt every time. Try elevating the hands on blocks, shortening your hold, or using wall dog.
- Your low back feels compressed. Bend the knees more and focus on lifting the hips while lengthening the spine.
- Your shoulders feel jammed near your ears. Soften the ribs, press actively through the hands, and externally rotate the upper arms gently.
- You cannot breathe easily. Come out sooner and rebuild with shorter holds.
- You chase the heels down at the expense of alignment. Prioritize back length over leg straightness.
- Your neck feels tense. Let the head hang naturally instead of forcing the gaze forward.
These signals are not failures. They are information. In beginner yoga poses, progress often looks like better awareness, not a deeper shape. If your body changes because of training volume, pregnancy, aging, travel, or a more sedentary week, your downward dog should change too.
Situations where modifications may be especially helpful:
- Wrist sensitivity or repetitive strain
- Tight calves or hamstrings
- Shoulder fatigue from sports or strength training
- Recovery after time away from yoga
- Need for gentle yoga at home on low-energy days
If you are practicing around an injury, choose conservative options and consider the broader context of your movement routine. Our guide to Yoga Modifications for Common Sports Injuries can help you think through substitutions more carefully.
Another reason to update this topic is teaching language. Older cues like “force the chest to the thighs” or “straighten the legs at all costs” do not serve every body. A better cue set is usually more functional:
- Press down to lift up.
- Bend the knees enough to lengthen the spine.
- Keep the neck easy.
- Let the heels be high if needed.
- Choose stability over depth.
That shift matters because downward dog mistakes are often caused by trying to match an image rather than respond to present sensation. As yoga for beginners evolves, pose guides should continue to center adaptability, not perfection.
Common issues
Most downward dog problems come from a small group of alignment habits. The good news is that each one has a simple correction. If the pose feels frustrating, work through the list below one issue at a time instead of trying to fix everything at once.
1. Rounded back
This usually happens when tight hamstrings pull the pelvis under and shorten the spine. The fix is to bend your knees more than you think you need. Lift the hips and lengthen from hands to sitting bones. Straight legs are optional; a long back is the priority.
2. Too much weight in the wrists
When the hips stay too far forward, the pose becomes plank-like and heavy on the hands. Press strongly through the palms, especially the base of the fingers, and send the hips up and back. You can also shorten the hold or use blocks under the hands.
3. Collapsed shoulders
If the chest sinks and the upper arms roll inward without support, the shoulders can feel unstable. Think of spreading the shoulder blades across the back while keeping the upper arms active. The pose should feel broad and lifted, not collapsed.
4. Forced heels
Trying to plant the heels can distort the whole posture. It may cause the spine to round and the shoulders to lose space. Keep the heels lifted if needed. Over time, your calves and hamstrings may open naturally.
5. Overarched low back
Some practitioners overemphasize lifting the tailbone and end up compressing the lumbar spine. Draw the front ribs in softly and keep the abdomen supportive. Aim for length, not a dramatic arch.
6. Tense neck and jaw
The head should not be held up rigidly. Let it hang naturally between the arms and soften the face. If your neck works hard, reduce the intensity and return to smooth breathing.
7. Holding too long
In many classes, downward dog is used as a transition, but staying there for too many breaths before you are ready can create strain. Start with 2 to 3 breaths, rest, and repeat. Endurance in the pose can build gradually.
Helpful beginner modifications:
- Short stance: From tabletop, lift up but keep your feet a little closer to your hands than usual.
- Micro-bend in elbows: If you tend to lock out your arms, keep a slight softness while still pressing actively.
- Rolled blanket under hands: Some people find this more comfortable for the wrists than a flat floor.
- Chair version: Place hands on the back of a sturdy chair and step back until the torso lengthens.
If you want a companion article focused more deeply on technique progressions, visit our Beginner’s Guide to Downward Dog. For building the pose into a broader practice, Build Your Personalized Home Yoga Practice offers practical ideas for sequencing and tracking what works.
A short reset sequence for days when downward dog feels off:
- Cat-Cow for 5 rounds
- Puppy Pose for 3 breaths
- Tabletop with hands pressing firmly into the mat for 3 breaths
- Wall downward dog for 5 breaths
- Regular downward dog for 2 to 4 breaths
- Child’s Pose to recover
This simple sequence can make downward dog feel more accessible than jumping into the full pose cold, especially in a morning yoga routine or after long desk hours.
When to revisit
Downward dog is worth revisiting on a schedule, not only when something hurts. Because it sits at the center of so many yoga poses and sequences, small refinements can improve the feel of your whole practice. The most practical approach is to treat this guide like a check-in tool.
Revisit your downward dog practice:
- Every 4 to 6 weeks if you are building a beginner yoga routine.
- At the start of a new training block if you lift, run, cycle, or play sports.
- After any break from practice to reset expectations and return to basics.
- When stress is high because tension can change how your shoulders, jaw, and breath behave in the pose.
- When seasons change if your activity level, schedule, or recovery habits shift.
A practical self-audit for your next revisit:
- Hold downward dog for 3 breaths.
- Notice where you feel the most effort.
- Ask whether you can breathe quietly through the nose.
- Check if bending the knees makes the pose feel better.
- Try one prop variation and compare.
- Write down which version feels most stable and sustainable.
This makes the pose easier to keep current with your real needs. You do not need to force a single “correct” version forever. A good yoga pose guide should evolve with your body, your schedule, and your goals.
If you are building a short practice around this pose, try this simple 10-minute template:
- 1 minute easy breathing
- 2 minutes Cat-Cow and shoulder warm-up
- 2 minutes low lunge and hamstring prep
- 2 minutes downward dog practice with modifications
- 2 minutes Child’s Pose and seated fold
- 1 minute rest
That kind of repeatable routine is often more effective than occasional long sessions. It also gives you a clear reason to return to this pose guide: your version of downward dog today may not be the version that serves you best next month.
For readers who want to connect the pose to athletic preparation, our Quick 10-Minute Pre-Game Yoga article may be useful. If you are exploring movement variety beyond this pose, the Top 10 Standing Poses to Improve Balance and Stability guide adds strength and coordination to your home practice.
The key takeaway is simple: downward dog should feel workable, breathable, and adjustable. Return to the pose regularly, update your setup when your body asks for it, and let function guide your form. That is how a classic pose stays useful for years.